Alfatech Vietnam Co., Ltd


How to create new materials render in BricsCAD
How to create new materials render in BricsCAD
Materials can bring your BricsCAD model to life. Materials can be as simple as matte or glossy paint or anywhere between. You can apply representations of realistic, real-world materials such as stone, marble, glass, polished metal, or fabric - the list is almost endless. To understand and perform now, I’ll guide create a sample material simply: Paper wall.
Firstly, your need prepair one image that you want to use it . You can use Google to find images. Example, I prepaired one image will using for create material (as H. 1).
|
H. 1 |
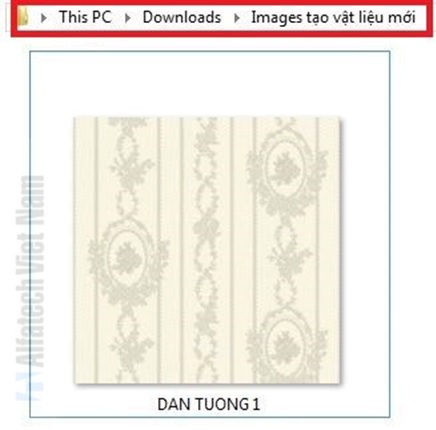
Notes: Please note location to save photos. The best is create a separater folder contain this photos to easy manager.
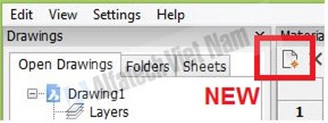
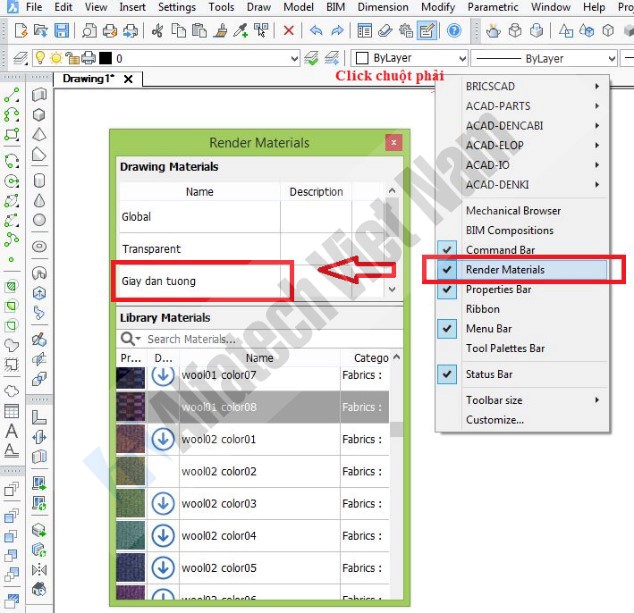
Step 1: Open [Drawing Explorer] dialog by [D] key enter.
In [Drawing Explorer] dialog, select Materials.
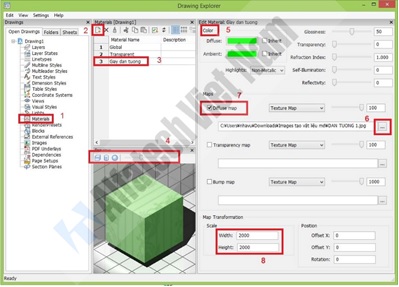
Step 2 + 3: Choose [New ] to create a new material and renamed it.
Step 4: In Tab [Preview], select shape show material (box, cylinder, circle). Change Light Intesity value on [Light Intesity] ruler bar.
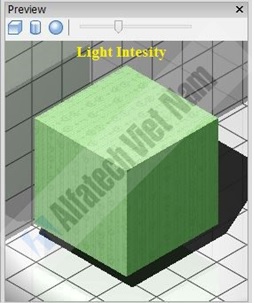
After that, we are continue setting properties for materials as: colors, light intesity, etc.
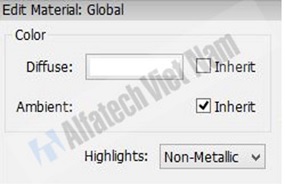
Step 5: If want to change color of material, click edit color in tab [Difuse] and [Ambients]. If don’t want use color, click [Inherit] at both tab. Then, material will have color that it is color of photo used.
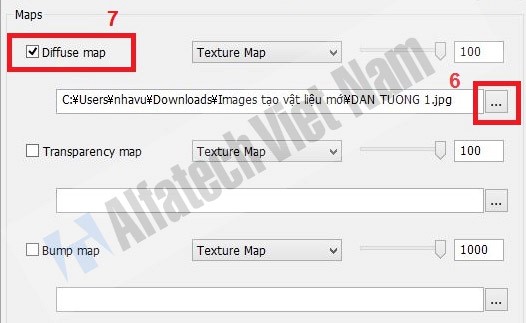
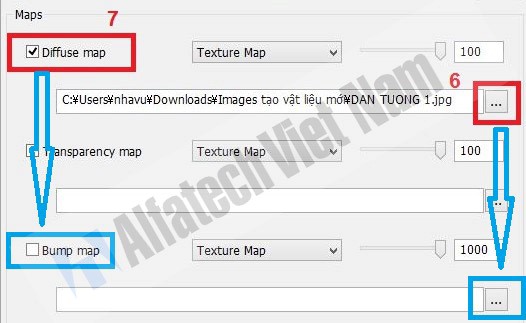
Step 6 + 7: To use photo prepared, select location that it contained photos will using. Then, click select [Diffuse map] for preview photos in [Preview] area.
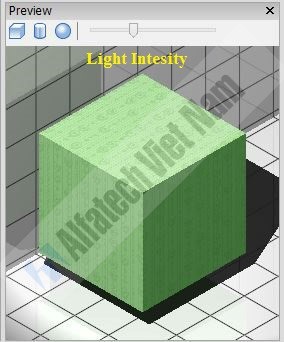
Step 8: Change size display (lentgh, width) of image material in Tab [Scale].
Notes:
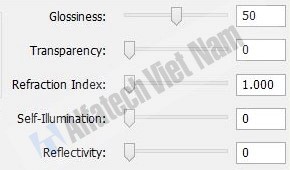
- Besides that, you can setting other parameter for materials as: Glossines, Transparency, Refraction Index, Self-Illumination, Reflectivity.
- To create bump of material (usually display when do tiled floor or tiled roof..). In Tab [Bump map], select path that it contained photo materials as same as apply for case [Diffuse map].
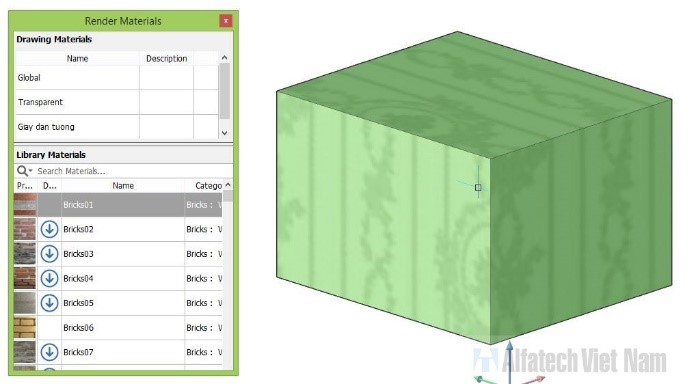
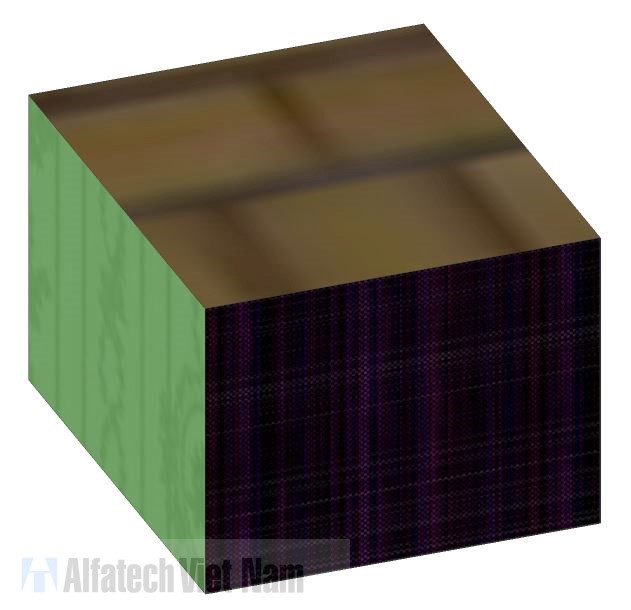
Comletioned creating new materials for redering. Assigned new material into 3D modeling by using drag&drop material to 3D modeling. Together view result bellow:
|
You can also assign material for each face easy and quickly |
Create more than sample materials render order to 3D modeling become alive. Good luck. JJJ
If you have any question, plase contact us in once of three website follow:
https://www.facebook.com/alfatechvn